APS Knowledge Base
Peptide Synthesis for Beginners
Getting Started: Common Procedures
The procedure below describes manual Fmoc Solid Phase Peptide Synthesis, SPPS. Fmoc is the most commonly employed protecting group for the alpha-amine during peptide synthesis on the solid phase. Alternatives to Fmoc SPPS exist but are not discussed here.
Setting Up
Equipment and supplies needed. See end of document for an alternative setup.
If this is your first time synthesizing a peptide on solid phase and you do not have access to an automated peptide synthesizer, you will need access to the following:
- Disposable fritted cartridges and caps. For example, empty standard SPE cartridges with 20μ PE frits from Applied Separations can be used. A 3 mL cartridge size is typically good when working with 100 mg of resin and 1 mL of solvent. If you anticipate needing more than 1 mL of solvents or are planning on using volatile solvents, you may want to use a 6 mL cartridge size instead. Because spills occasionally happen, it is a good idea to cover the tray with aluminum foil and/or place your cartridge in a small plastic bag.
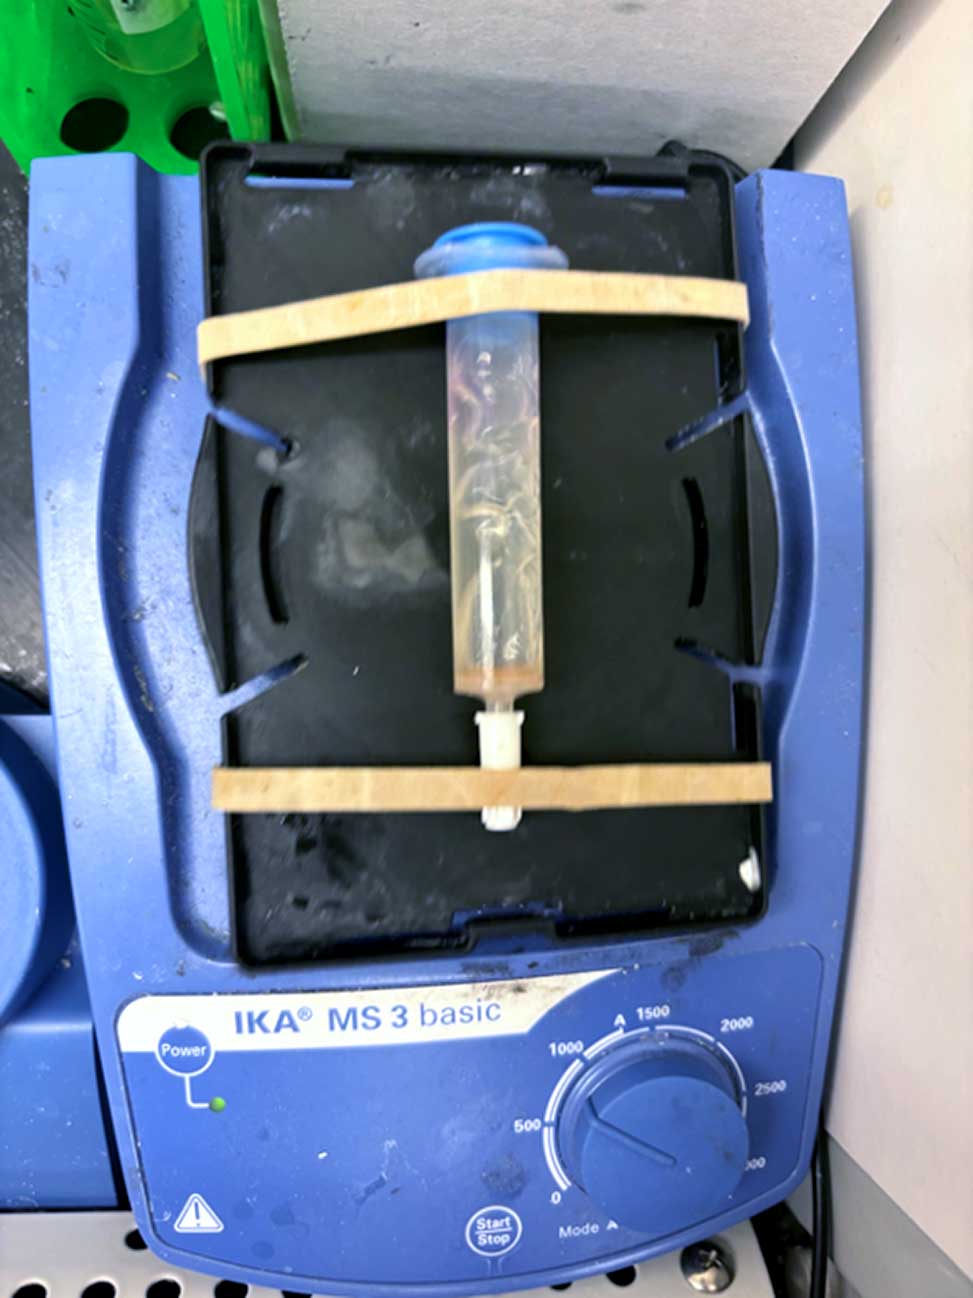
- An orbital shaker or any small vortex mixer equipped with a microplate tray accessory. The tray makes it easier to gently agitate multiple cartridges and secure them in place with rubber bands. Note: Magnetic stirring will damage the resin and should be avoided.
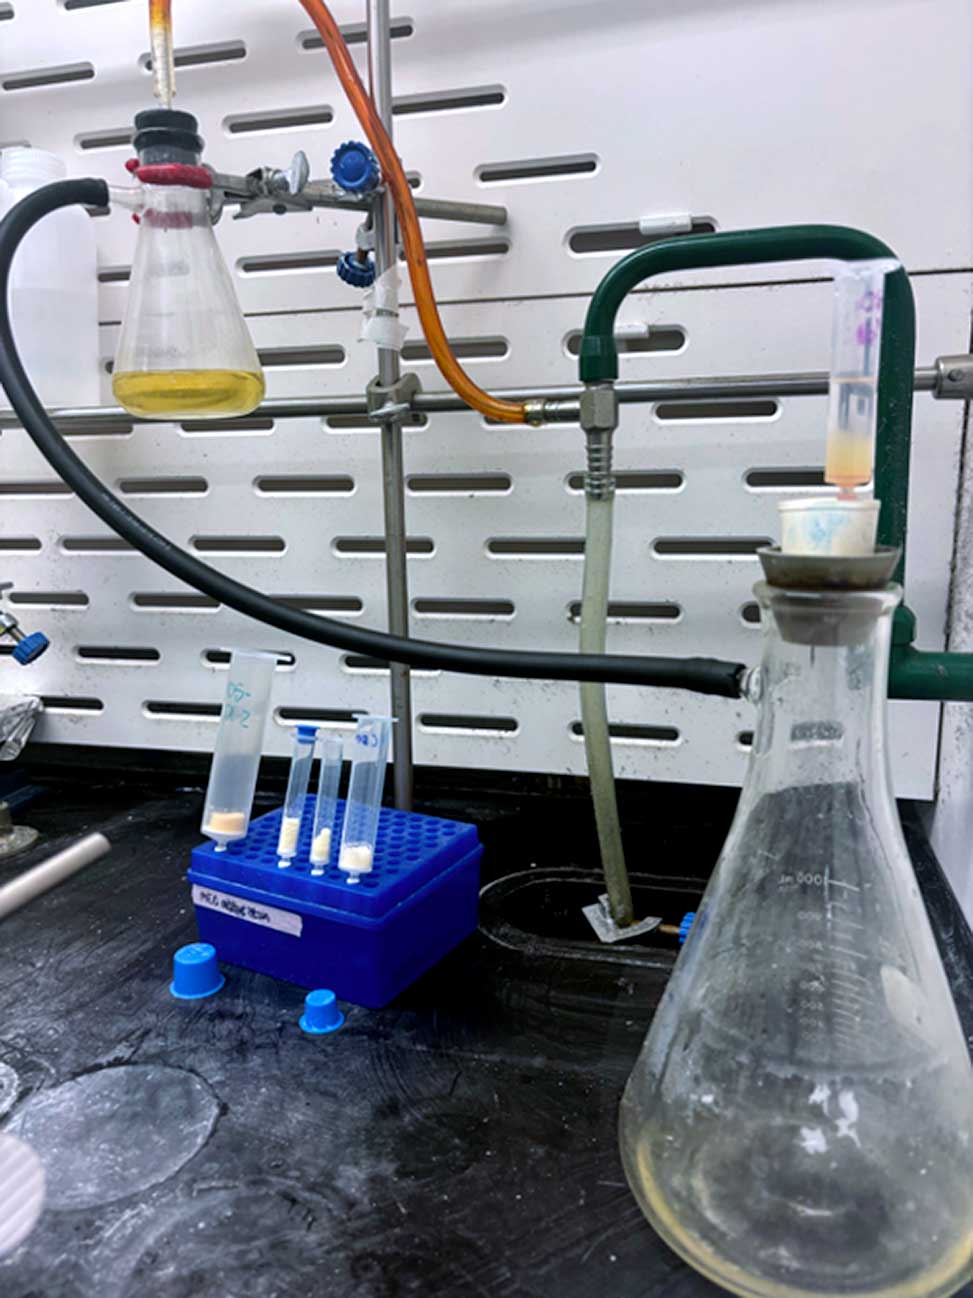
- An Erlenmeyer flask with side arm connected to a waste trap and water aspirator vacuum for draining of the reagents and solvents.
- Access to an LCMS and preparative HPLC for analysis and purification.
- Access to a lyophilizer for freeze-drying of your HPLC fractions.
With a scale of ~100 mg of resin, if you are using resin with high loading, for example 0.6-0.8 mmol/g, and synthesizing a pentapeptide, MW ~ 800 g/mol, you can expect ~50 mg of crude peptide material after cleavage from the resin.
A typical yield after purification for a peptide using standard Fmoc amino acids will be ~30-40%, resulting in ~15-25 mg of pure peptide material at the end of the synthesis and purification.
Depending on your peptide and resin, you might need to adjust the scale of your reaction in the future to get enough material for your desired application.

Resin in SPPS cartridge on a vortex mixer equipped with microplate tray

Setup for draining of the reagents and solvent
Fmoc-Amino Acid Coupling and Fmoc Deprotection Cycle
The video below describes peptide synthesis on Rink Amide resin. In preparation for your Fmoc deprotection and Fmoc-amino acid coupling reactions, your resin should be swelled in DMF. If your resin is dry, simply add ~1 mL of DMF to your SPPS cartridge containing ~100 mg of resin, and leave it on the shaker for ~30 minutes. After draining the DMF, you can proceed with your Fmoc deprotection/Fmoc-amino acid activation cycle as described below.
For the Fmoc Deprotection Step
Add a solution of 20% piperidine in DMF v/v (~1 mL) to your resin and allow the cartridge to shake for ~5 minutes.
After 5 minutes, drain the solution and add a fresh solution of 20% piperidine in DMF v/v, 1 mL, to the resin – there is no need to wash the resin at this stage. After 15 minutes, drain the solution and wash the resin with DMF, ~3 x 1 mL.
Note: To wash the resin, you can simply add solvent from a wash bottle to the cartridge while it is connected to vacuum. For larger scales, you might want to cap and shake the resin in between washes and/or alternate between DMF, MeOH, and CH2Cl2 solvent washes. Methanol will shrink the beads.
For the Fmoc-Amino Acid Activation Step
Dissolve the Fmoc-amino acid, 3 equiv relative to the resin loading, in 1 mL of DMF in a 20 mL vial, followed by addition of HBTU, 3 equiv, and DIEA, 6 equiv. Leave the reaction stirring for ~5 mins, before transferring the activated Fmoc-amino acid solution to the swollen resin. After ~1h, drain the reagents and wash the resin with DMF, 3 x ~1 mL.
This cycle of Fmoc deprotection and Fmoc-amino acid coupling is repeated until your peptide is completed. At the end of the day, you should dry the resin by washing it with CH2Cl2 and let the residual volatile solvent evaporate. If you are trying a difficult coupling and/or these standard reaction conditions are not working, see “Optimizing a difficult coupling” under tips & tricks below.
Greener Solvents and a Caution
To consider greener solvents for SPPS, see Greening Fmoc/tBu Solid-Phase Peptide Synthesis.
Caution: HBTU is a sensitizer and allergenic and many researchers have developed sensitivities to this reagent. See “Anaphylaxis Induced by Peptide Coupling Agents: Lessons Learned from Repeated Exposure to HATU, HBTU, and HCTU.” Use caution when weighing and transferring this reagent.
Monitoring the Efficiency of the Coupling Step
The Kaiser test is a qualitative colorimetric test to detect free amines. It is frequently employed in solid phase peptide synthesis to monitor the completion of a coupling reaction. 1, 2 The test relies on a color change produced by a reaction between ninhydrin and a free amine.
You will need three solutions for the Kaiser test:
Solution A is prepared in two steps. First, prepare a 66% w/v solution of potassium cyanide in ddH2O. Second, perform a 1/50 dilution of the KCN solution in Pyridine, 1 mL of KCN, aq, to 49 mL pyridine.
Solution B is a 5% w/v solution of Ninhydrin in Butanol.
Solution C is a 200% w/v solution of Phenol in Butanol.
The KCN and Phenol accelerate the color change of the Kaiser test.3, 4 To perform the Kaiser test on a resin-bound peptide, simply remove a minimal amount of resin beads with a spatula and place them into a test tube. Add 3 drops of Solutions A, B, and C into the test tube alongside a second test tube with no resin. After adding the reagents, gently heat with a heat gun or in a hot water bath until a color change is observed. Presence of a free amine will correspond to a darker purple-blue color in the test tube with peptide compared to the reference solution.
Kaiser Test Video